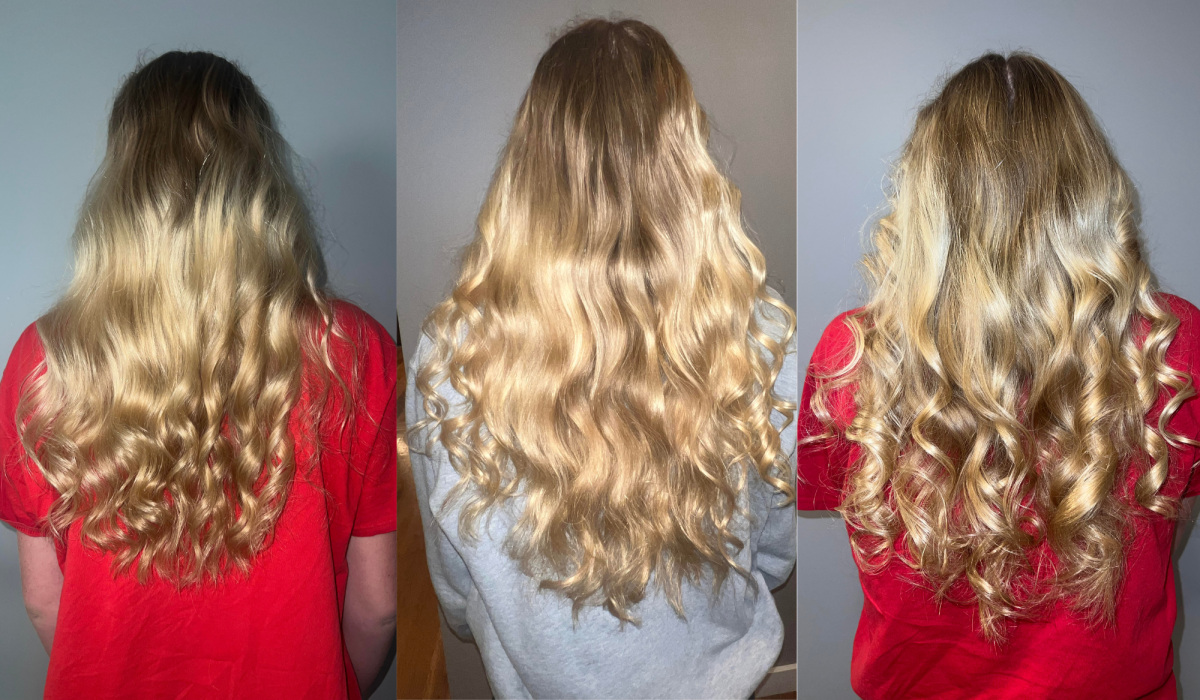
Getting to school on time can be a struggle for all teens, but what if you could get to school faster by cutting your hair prep time in half? Heatless curls have taken the internet by storm with their appeal of reducing heat damage and having perfect hair right out of bed.
Over the past year, I have tried many heatless curl methods using the Kitsch heatless curling set, available for $16 -18 at the Kitsch website, Ulta, or Amazon. The set comes with one curling rod and two scrunchies, the only materials needed for many of the heatless curling methods.
Before wrapping my hair, I like to brush my hair and apply hair oil. Then, I begin to put in my heatless curls. It seems that having dry hair works better for heatless curls than wet because if the hair is too wet it may not dry overnight. I also suggest purchasing a silk/satin bonnet to wear over the heatless curls at night for some extra protection against them falling out while sleeping.
I tested three of the most popular methods for heatless curls to discover which one is the best: the ‘unicorn’, the traditional, and the halo method.
The ‘Unicorn Method’
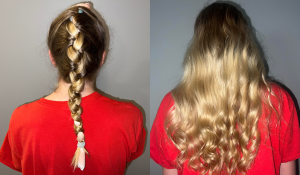
 I have tested this method countless times and it seems to be one of the most reliable methods for a good curl outcome every morning. It is especially good for side-sleepers as the curling rod lays down the center of the head. I have found that the curls are a little bit too tight for my liking in the morning, but after a few hours, they fall a little bit and look about perfect. To try the unicorn method, follow the steps below or watch this Youtube video.
- Place the curling rod down the center of the hair and use a hair clip to secure
- Grab a piece from the left side of the head and wrap it away from the face and around the rod, until it comes back out to the left side of the head
- Repeat the last step on the right side of the head, wrapping the hair in the opposite direction as the last piece
- Alternate grabbing a piece from the left and right sides of the hair and adding it to the hair that is already wrapped around the rod (this is kind of like a french braid)
- Once all of the hair is added from the head, continue wrapping the hair around the rod, alternating from the left side to the right until the entire length of the hair is wrapped
- Secure the end with a scrunchie or hair tie
The Traditional Method
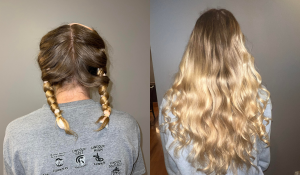
I have tested this method a few times and it seems to be pretty unreliable for me. Out of all the methods, this one seems to fall out overnight the most. It turned out very well this time and stayed in my hair perfectly overnight, so it may just depend on the roughness of sleep. This method is definitely closer to a beachy wave than bouncy curls. If loose curls are the desire, this method is perfect. To try the traditional method, follow the steps below or watch this Youtube video.
- Place the curling rod horizontally on the top of the head and clip it in place
- Secure one side of the hair with a hair tie
- Begin at the top of the head by wrapping pieces of hair away from the face and around the curler
- Continue adding pieces of hair to the piece that is already being wrapped until it reaches the nape of the neck
- Wrap the last piece from the back of the hair towards the face
- Finish wrapping the rest of the hair around the rod alternating back and forth with the front and back pieces
- Secure the end with a scrunchie
- Repeat steps 3-7 on the other side of the head
The Halo Method
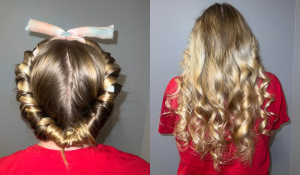
I have tested this method many times and it seems to be pretty reliable. This one is fairly uncomfortable to sleep in, but it stays in very well overnight. The curls tend to be tighter and curlier than the other methods. In general, I like the curls of this method and they stay in very well during the day. The halo method does take a while to wrap onto the head at night, make sure to leave enough time at night to put it in. To try the halo method, follow the steps below or watch this Youtube video.
- Tie the two ends of the curling rod together using a hair tie and place the circle that is formed on the top of the head
- Begin wrapping small sections of the hair around the ‘halo’, adding each new section to the piece that is already wrapped
- Once the end of the hair is reached, secure it with a hair elastic
- Repeat steps 2 and 3 with the other side of the head


